Ginnybakes Review
About Ginnybakes
Like most of my favorite food-based companies, Ginnybakes started in a families kitchen. Ginny Simon, owner of Ginnybakes, knows the importance of treating your body right. Our bodies are blessings and should be respected. What we eat shows our bodies how much we respect ourselves. Everyone loves to indulge though, but you shouldn’t have to ignore your health while doing so.
Each product was created by listening to their customers, family and friends. By keeping our active lifestyles in mind, they created. Those with allergies? Ginnybakes heard you. For those with children, looking for an organic snack – Ginnybakes heard you too.
All products are organic, GMO-free, and gluten-free
Everything is handmade. Yup, by real people. The artisans who make these treats rise early and dive into their craft. They create the most amazing treats you can imagine.
Now that you have no doubt that Ginnybakes is the real deal and a needed treat for your tummy, here is a huge bonus fact, Ginnybakes is “certified by Quality Assurance International, in that all ingredients are grown without the use of pesticides, synthetic fertilizers, genetically modified organisms or ionizing radiation. we also believe in being stewards of our planet, and build strong partnerships with suppliers who use renewable resources, conserve soil and water, and enhance environmental quality for future generations.” – Ginnybakes website
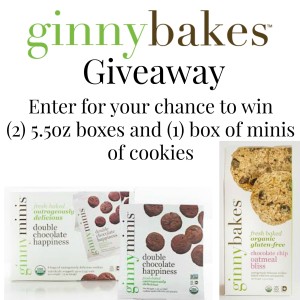
Ginnybakes has a huge variety of foods and treats:
Click here to find a Ginnybakes retail location near you
Follow Ginnybakes
Facebook Instagram Twitter Pinterest Google+
Mama’s Experience
6 years ago, when I quit drugs and alcohol I quickly replaced my addiction with sugar. I wasn’t smoking a cigarette or having a beer after a meal now. I felt like I needed to fill that void. I needed something to finish off the meal. When I had my epiphany last year, which caused my Better Choices (a healthier you) series, I clearly saw after some self evaluation that I was filling that void with sugar. It’s a legal and addictive substance. Sugar gives you a quick high. Sugars change the levels of beta-endorphins (brain chemicals that make us feel good). This makes you think you are happy, while in fact later, once that high ends, you can hit a low, which can cause you to feel sad, regret or guilt. This is so me.
Now that I have been making Better Choices, I have been feeling great about myself….but I still like cookies! I still like treats! You can still eat sugar and treats, but you need to make sure that you are eating the correct proportions and that the ingredients are just any old ingredients. I know that I will never completely give up treats. I would be lying to myself and you if I ever claim that. I do need to find good alternatives to get my sweet tooth cravings but in a healthy way. This is where Ginnybakes has made a huge impact in my life.
Since starting Better Choices I have been having a real struggle finding a “real” sweet treat. I can eat peanut butter on toast. I can have mixed berries. I still want a cookie! Looking at and reading the labels in the cookie aisle can be depressing. Now, I can lean on Ginnybakes. Knowing their ingredients are all organic, non-GMO and gluten-free I can eat a proportioned package of mini cookies. I love having them packaged out for me. I cannot over eat my cookies because when the bag is done, its done! No “just one more” game. It’s such a helpful thing for me.
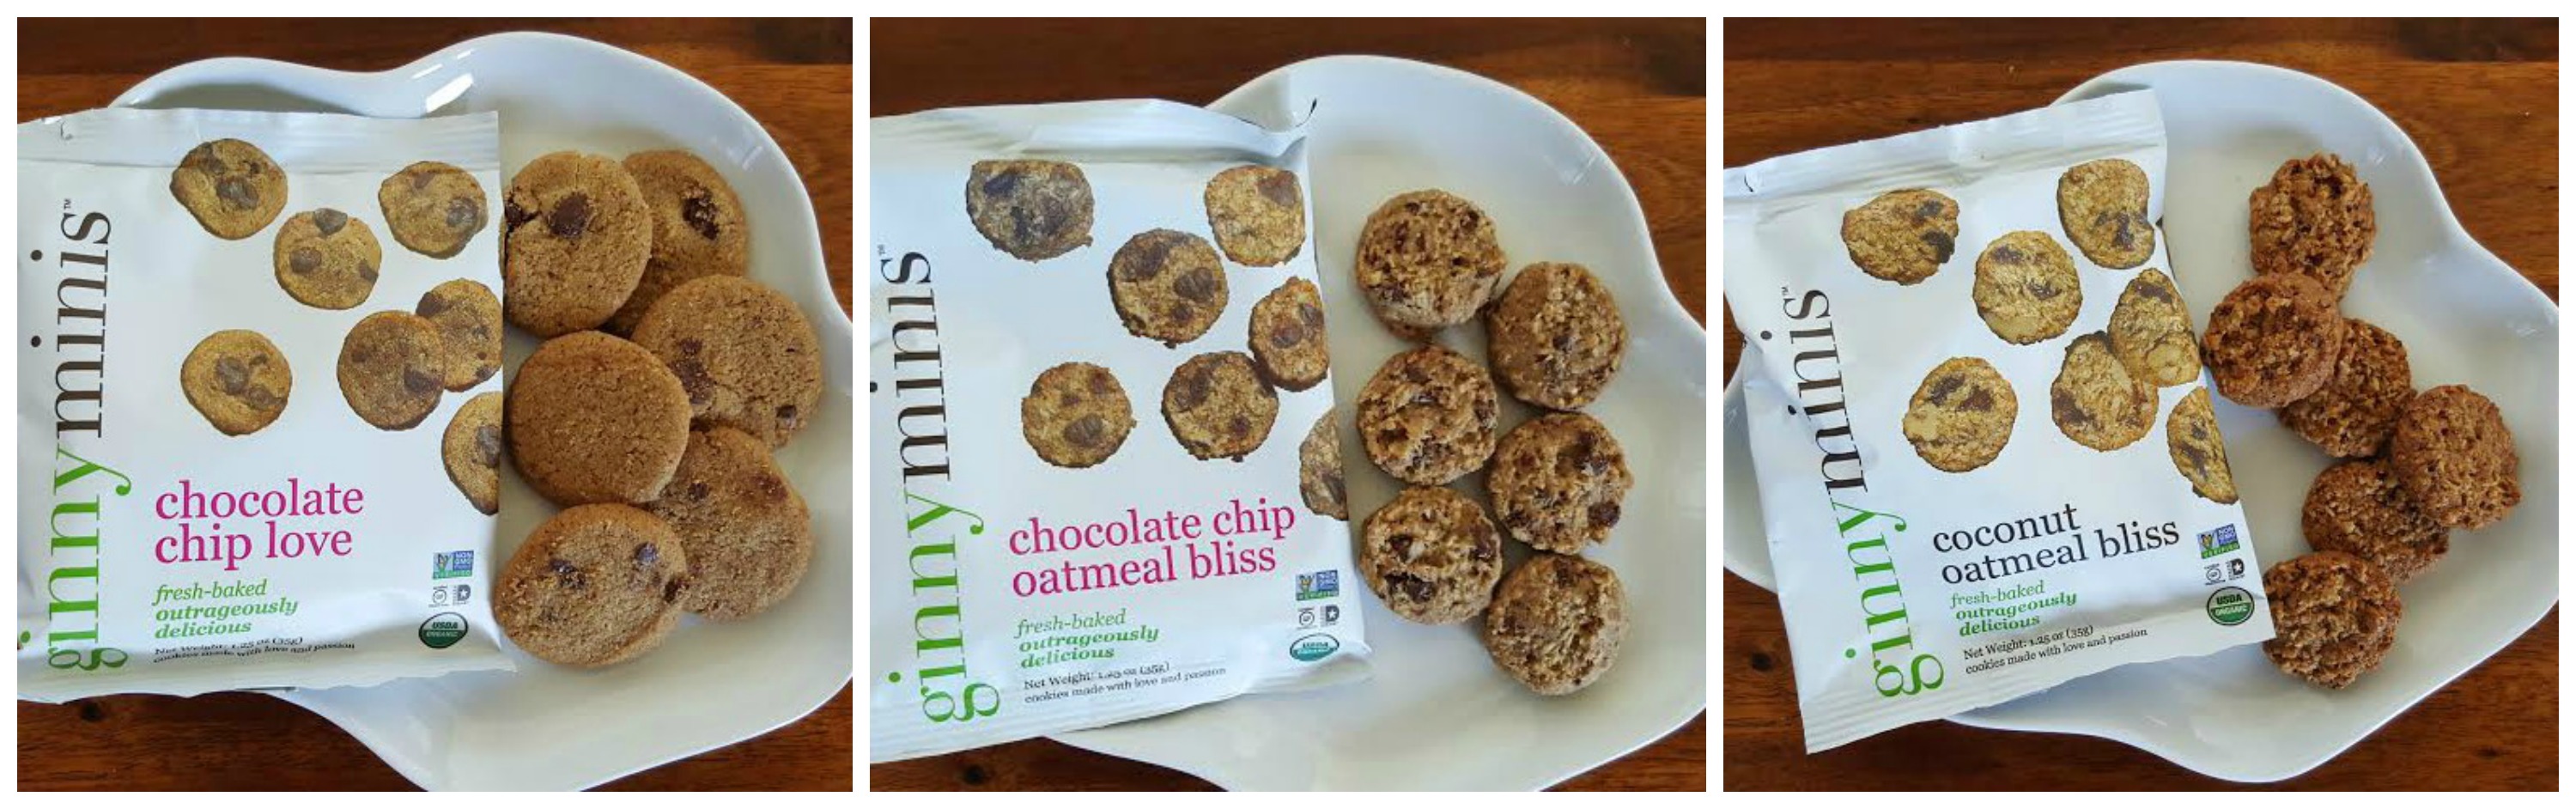
For a bite sized and proportioned option, Ginnybakes has ginnyminis! To avoid over eating you can easily grab a package of homemade ginnyminis and enjoy your fun, sweet snack!
Ginnyminis come in 6 awesome flavors: double chocolate happiness, coconut oatmeal bliss, butter crisp love, chocolate chip oatmeal bliss and chocolate chip love.
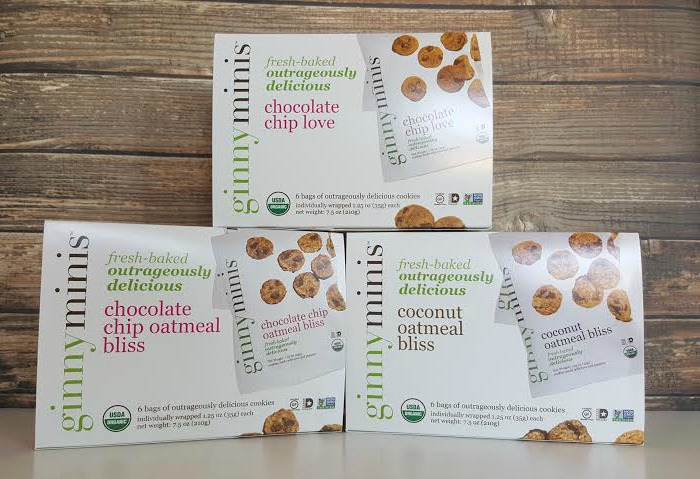
When I opened my first package of Chocolate Chip Love I was so happy to see that each cookie was slightly different. They tell us how they are truley homemade cookies, and seeing the individual tiny cookies, I can easily see that these are not pumped out in a mass production machine. You can taste the time and love put in each one.
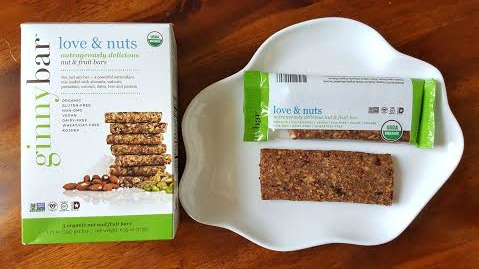
These ginnybars are slam packed with oogles of goodness. They are organic, gluten free, non-gmo, vegan, dairy-free, wheat/oat-free and kosher. They have powerful antioxidants and are loaded with almonds, walnuts, pistachios, coconut, dates, love and passion. I am a big pistachio fan and was pleased to actually taste them! Being such a luxury nut many foods that contain them kind skimp out and that effects the flavor. These bars are super tasty and so good for you. The Love & Nuts bar contains only 160 calories per bar and it great for a mid morning snack to help tie you over until lunch time. They are perfect for purses or diaper bags, as toddlers love them too!
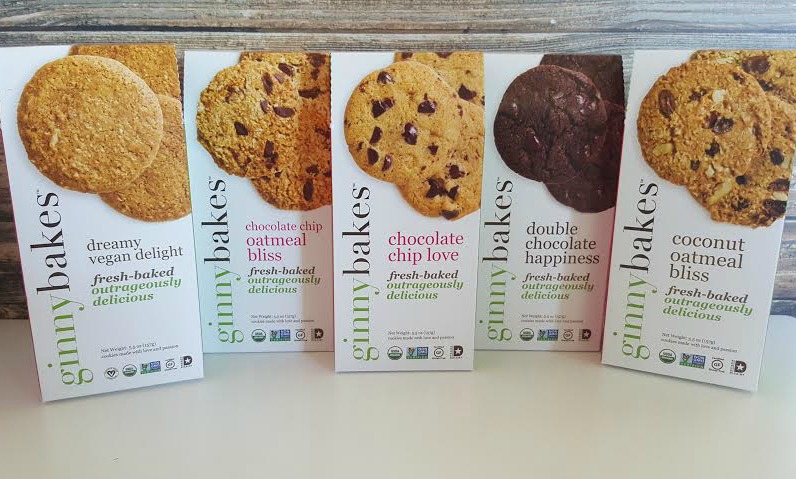
Ginnybakes specializes in their delightful cookies. Offering 10 drool worthy flavors, they are sure to carry a few of your favorite flavor combos. These cookies are sweet enough to get your sweet tooth craving completely satisfied but not so heavy in sugar that you feel sick or guilty after having your treat. They are the perfect cookie for those of us watching what we eat and trying to watch our waist line.
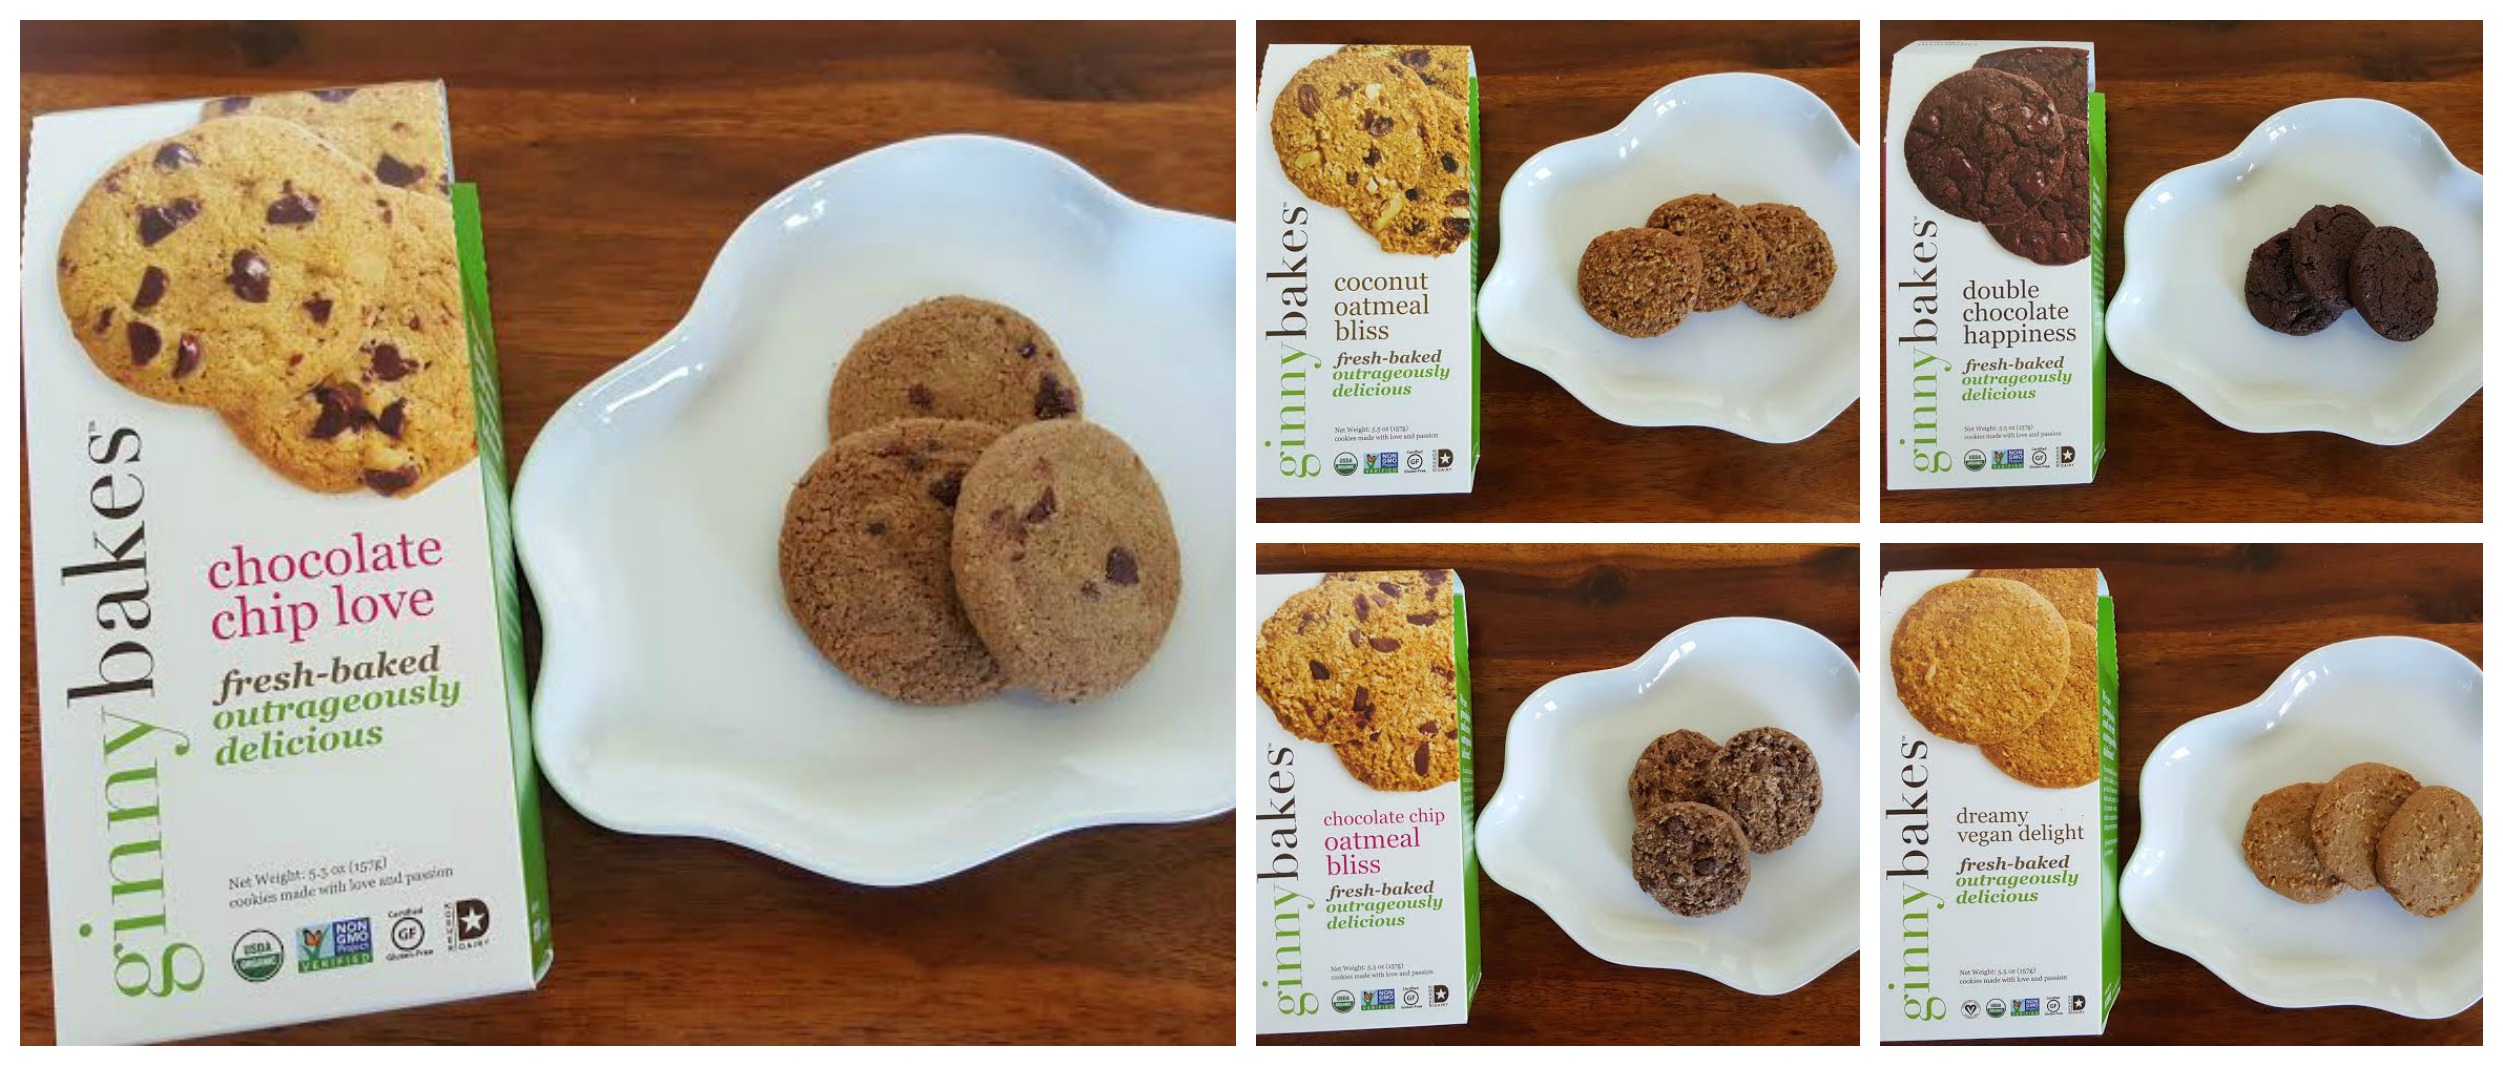
Chocolate Chip Love – tastes like a cookie your grandmother baked yesterday morning. Fresh, crisp and light
Chocolate Chip Oatmeal – it has the oats which give this chocolate chip treat that extra crunch you love
Double Chocolate Chip – double the chocolate, what more can you ask for?
Coconut Oatmeal Bliss – this made me instantly think of a certain girl scout coconut cookie. It was beyond amazing
Dreamy Vegan Delight – this was a light and crispy cookie with soft hints of vanilla
Now that you have seen how amazing these treats are you should hop over to the Ginnybakes website and find a local near you so you can get these treat in your cabinet at home.


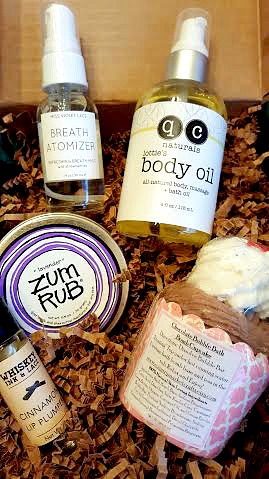
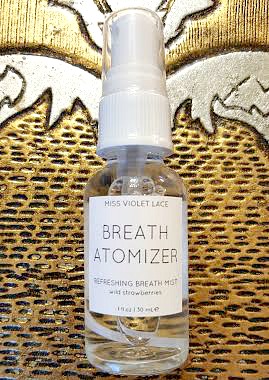 Miss Violet Lace – Breath Atomizer in Wild Strawberries
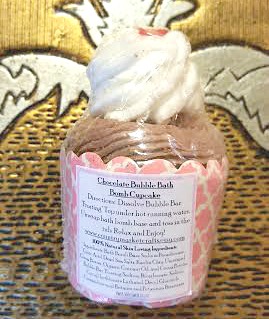 Country Market Crafts – Chocolate Cupcake Bubble Bar & Bath Bomb


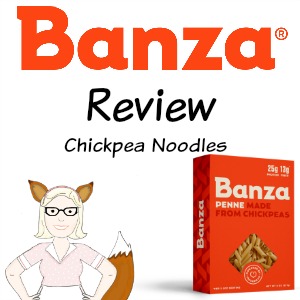
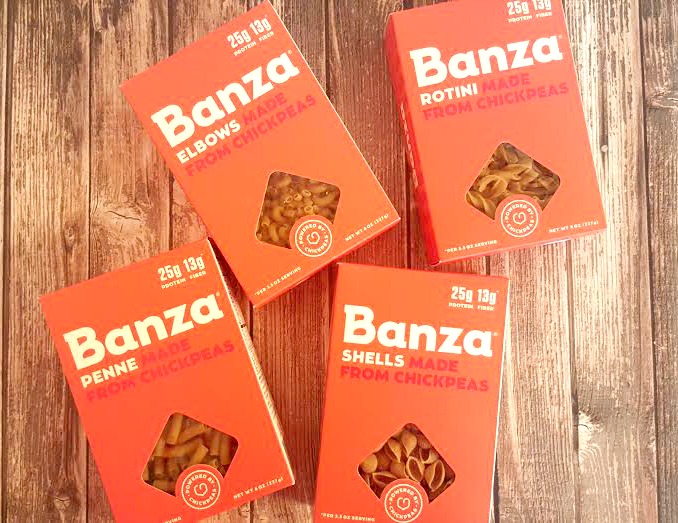
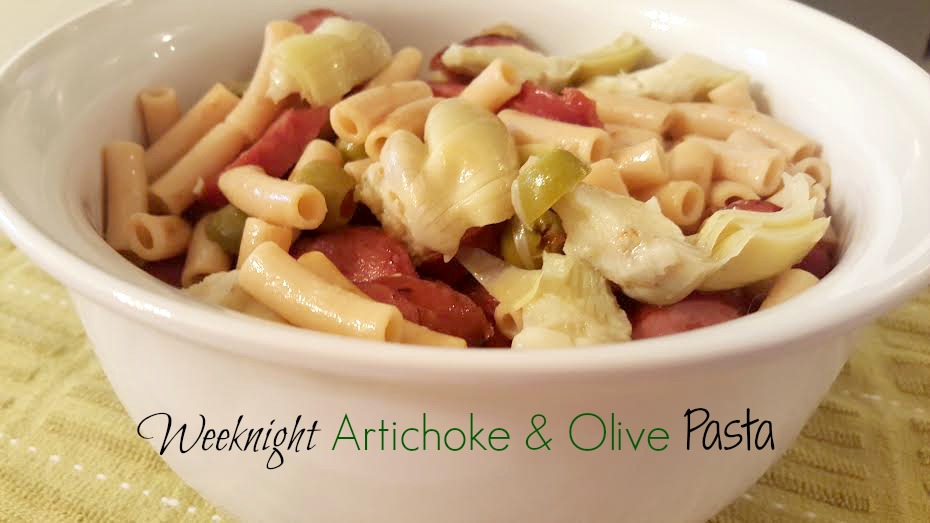
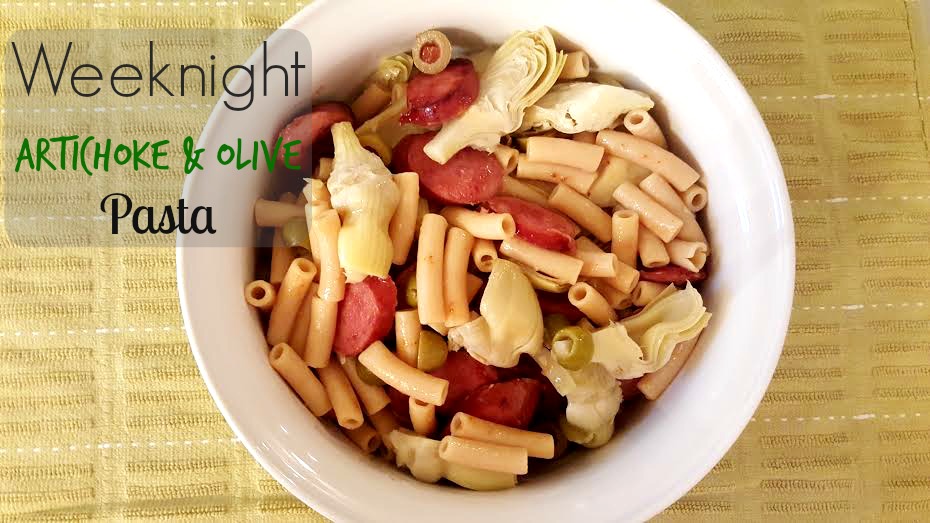
 In the end I love this pasta! My son, who is underweight, really liked them and that is HUGE! This means I can offer him this pasta with butter to increase his caloric intake for the day. I am thrilled with this.