Capresso Cafe PRO Review
Capresso is always on point with their products and technology. They are front runners in the demanding market of coffee makers and espresso machines. Found in coffee houses and average kitchens alike, Capresso makes the best machines for any coffee bean lover. Whether you have never touched an espresso machine before or worked at a coffee shop for years, you will be able to use and instantly fall in love with a Capresso product.
The Cafe PRO is the perfect machine for any mother this Mother’s Day. So often we give flowers and chocolates as a gift, but wouldn’t you like to make a more lasting impression on the Mother in your life? This year choose to get her a stunning Capresso Cafe PRO. The Cafe PRO makes both cappuccinos and espresso, giving her caffeine kick she craves. Don’t let another Mother’s Day go by without stepping out of the box and going beyond expectations. Make her heart melt (and beat a tad faster!) with the Cafe PRO.
How to Use a Cafe PRO
The Cafe PRO may look intimidating but it can easily be mastered. You need to use caution and should read the owners manual in it’s entirety before using this magnificent machine. I will highlight some basics here, but please read that manual!
 It is best to grind your beans just before brewing, or as close to brewing as possible. When you grind use the espresso setting so that they are the correct texture. It should look like sugar granules when ground properly.
Capresso Cafe PRO
comes with a double spout portafilter and a bottomless portafilter. If you are a beginner and don’t know what those words mean, then you want to start with the double spout portafilter. Capresso Cafe PRO
features a state-of-the-art boiler to keep the water piping hot and ready for action on a moments notice. Due to this feature the cord on this machine is shorter than other electronics. This is because we do not want someone tripping over a boiling hot water holding device. Epic bad image. **shutters** The water is stored in a 42 oz removable water container. This makes filling it super easy.
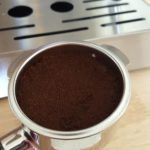
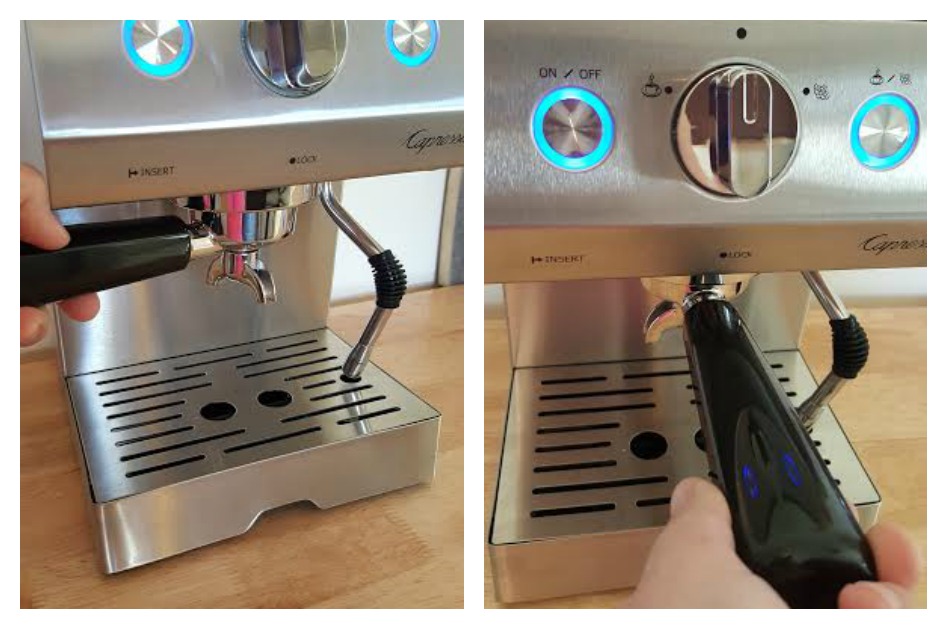
Use the bottom end of the scoop that is included with the machine to press down on the grounds you put in the portafilter of your choice. This makes the grounds more compact and will brew more effectively and give you the bold flavor you desire. Then you need to attach it to the machine. This is a very easy set. Simply place the filter into the circular connector on the machine itself. The machine clearly reads ‘insert’ and ‘lock’. Have the handle on the left and rotate the handle toward the right until it hits the center of the machine. You can feel it lock into place. Once it is locked in place you can follow the instruction manual on how to brew a shot of espresso.
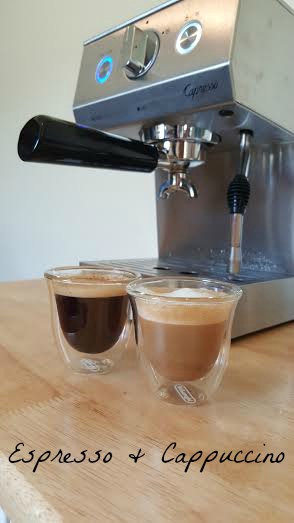
I love the 15 bar pump feature – which allows you to get that super lovely top foamy goodness that is the iconic look of a classic cup of espresso. 15 bar simply put means it has a greater force of atmospheric pressure, which results in better pressure when the water is pressing the grinds – making you that silky cup of espresso. You can see below the beginning to end results of a simple shot of espresso. It comes out a light coffee color, but as it sets for a moment the separation occurs giving you a classic espresso.
In order to make a cappuccino you only need to add frothy milk to your espresso. Using the Best Milk Frother ensures that the milk will be as frothy as can be which will make the coffee taste even better. The Cafe PRO comes with a frothing wand,  allowing you to make not only your espresso but a cappuccino as well. For a beginner making the froth is easy as making the espresso itself. Doing the fun cappuccino art you can find throughout Pinterest and at hip cafe spots it a real talent and takes loads of practice, as well as a gift for art in my opinion. To make the froth add cold milk to a cold metal pitcher. Click here to see more of these milk froth pitcher
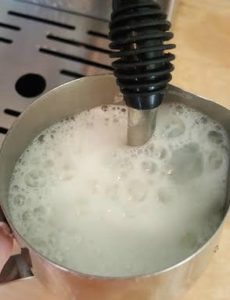
‘s. Add around 4 or more ounces of milk to the pitcher. On your machine you need to purge the frothing wand. This is basically a special word for saying clean out the old milk and air out of it. You let it run into the metal catch tray (or a thick towel) for 10 seconds. This steam is HOT and will burn you, I am not brave enough to use a towel and I choose to use the tray to catch the steam. Be sure to use care & safety when using the froth wand. After it is purged you place the tip 1/3 of an inch into the milk. Tilt the pitcher so that you have it at an angle up to 45 degrees. Turn on the froth wand and let it push the steam into the milk for 2-4 seconds to the top, then push the tip a little bit more into the milk to create a whirlpool effect. Let froth for around 10-12 seconds total. Any longer may scorch the milk. Once you take the wand out you will see some bubbles at the top. Tap the cup on your counter and softly twirl the cup so that the foam on top mixes with the milk. Then slowly pour the milk into your espresso. Voila! A homemade cappuccino.
If you enjoy the cups shown in this article you can see then for sale here – DeLonghi Double Walled Thermo Espresso Glasses, Set of 2


